
DIY Sign using used frame black foam board and chalkboard pen
How to make a DIY welcome sign! Get the FREE Welcome sign printable and SVG file to make your own with or without a vinyl cutter! This DIY wood welcome sign.

15 Creative DIY Sign Projects Door signs diy, Diy door
Turn a picture frame into a chalkboard welcome sign. Give your welcome sign the look of barn wood by painting it and sanding it down. Make a DIY welcome sign with plywood, twine, and letters cut out of cardboard. Build a rustic welcome sign with cedar planks and stencils.
Cute DIY Signs for Your Home
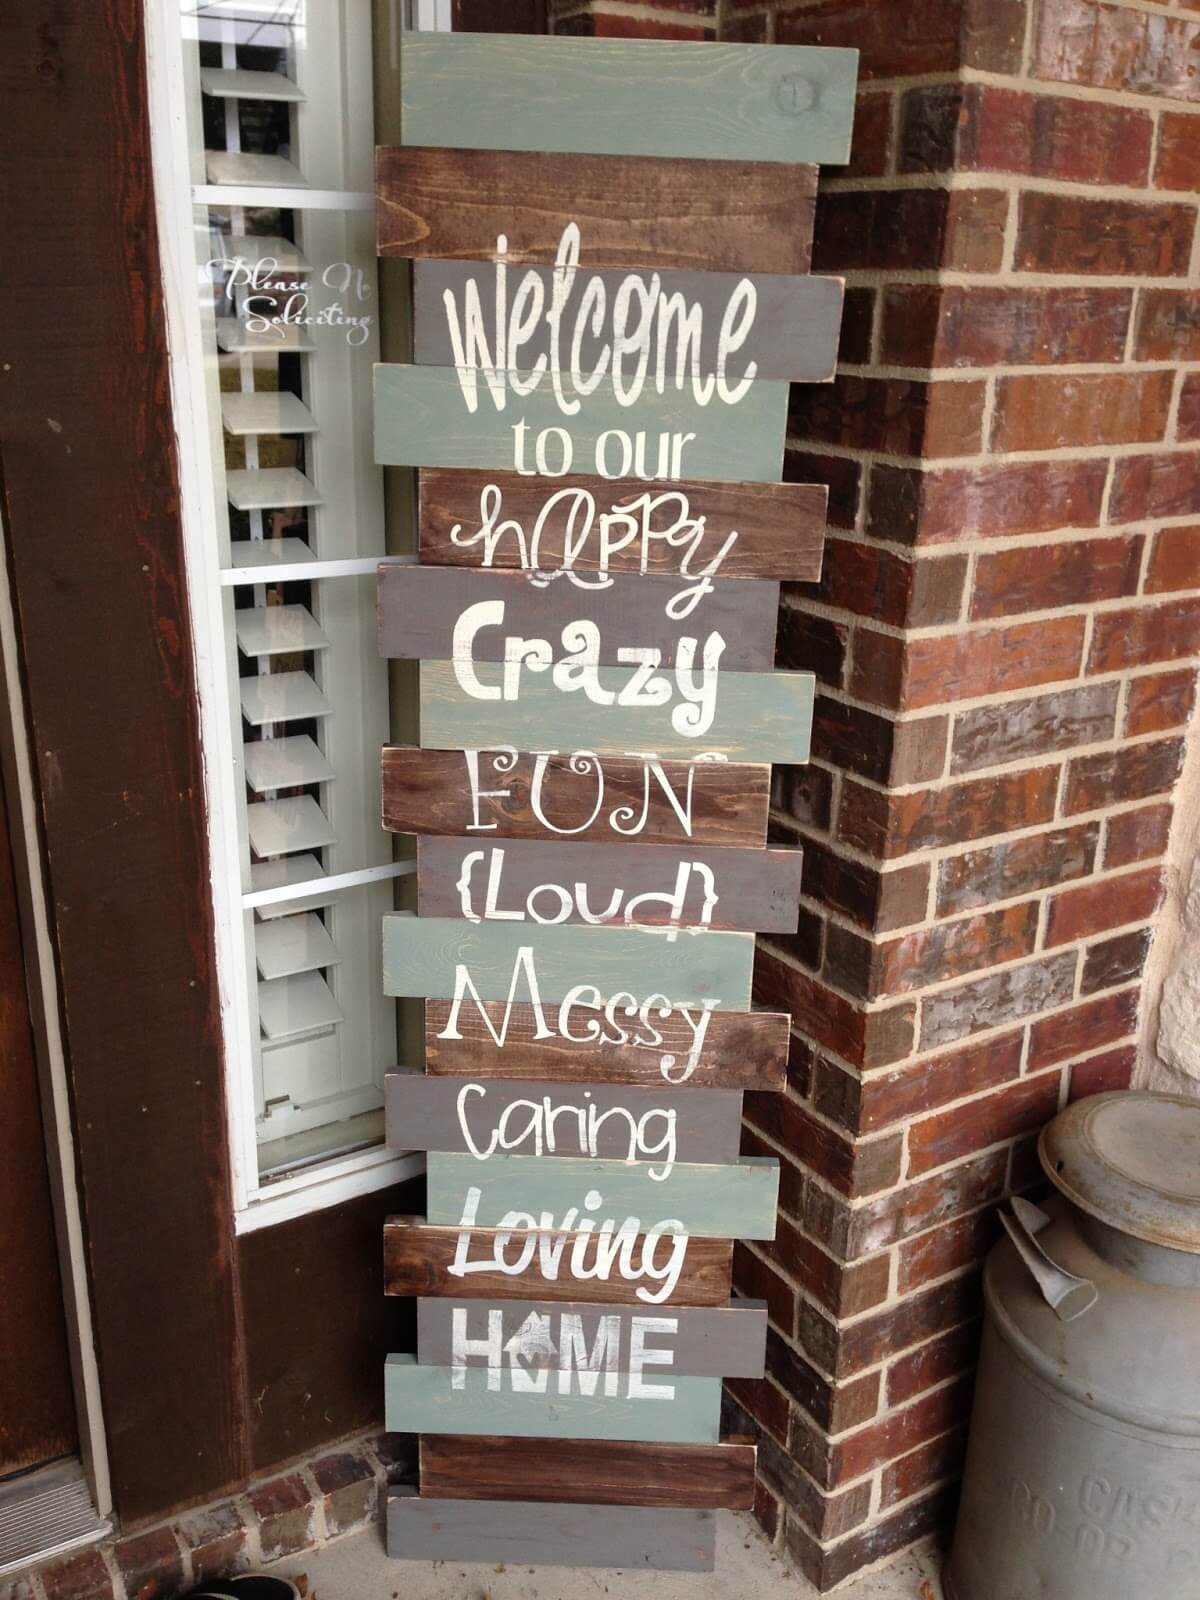
savedbylovecr. 4. DIY Plywood Sign. Bring a vintage and rustic vibe to your decor with this totally inexpensive wooden sign. Use some scrap or reclaimed wood, free paint sticks, wood glue, clamps or brad nailer, stencil, or a printed image with paint, foam brush, and stain or paint! mylove2create. 5.
10 DIY Signs for Your Front Door or Porch
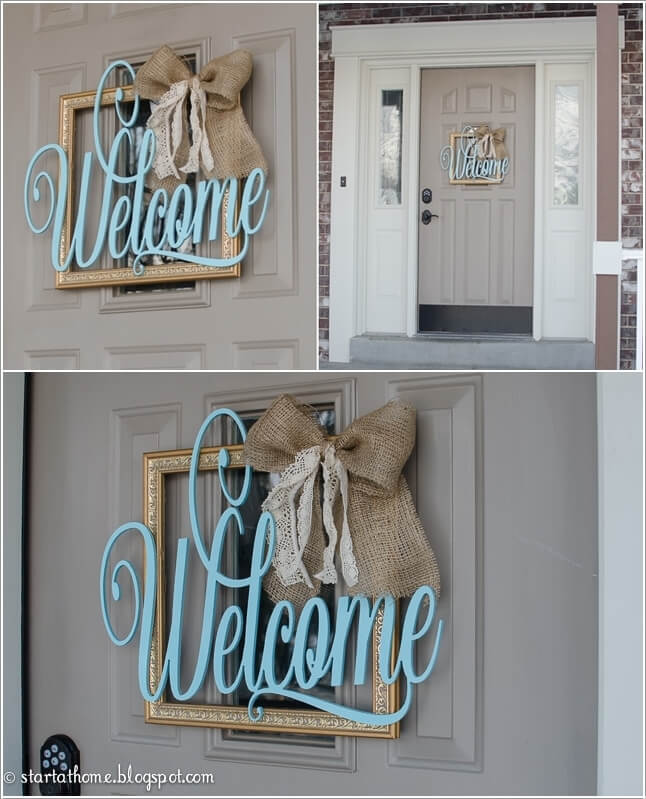
Small Chalkboard Welcome Sign. Repurpose an old chalkboard or use chalk-style paint and an empty picture frame to make this simple, inviting welcome sign. To give it a seasonal touch, switch out the ribbon depending on the holiday or time of year. Kids will love helping with this sign too, and you can always wipe away the greeting for something.

Pallet Projects Sign Painted on Reclaimed Pallet Wood by
DIY Welcome Sign. As a welcoming greeting, this DIY Welcome Sign will put you in the spirit! It's easy to make and can be customized to any style. This DIY Welcome Sign will turn your home into an oasis of comfort and style. Constructed from high-quality wood, this sign is simple to assemble and comes with everything you need for a charming.
DIY Sign Angela Marie Made
Welcome to Our Home Sign with Interchangeable Pieces. Yield: 1. Prep Time: 30 minutes. Active Time: 2 hours. Additional Time: 2 hours. Total Time: 4 hours 30 minutes. Difficulty: Easy to Medium. Estimated Cost: $50.00. How fun it is to have a sign up in our homes that you can change for the season and holiday!

35 Beautiful DIY Signs for Your Front Porch ⋆ DIY Crafts
Apply the vinyl on that section to the wood with a scraper. Start at the center and work your way to the end. Continue all the way to the end of that section burnishing well as you go. Once that first section is applied, you can repeat the steps on the opposite side of your "hinge" and your remaining vinyl.

10+ Diy Wood Sign
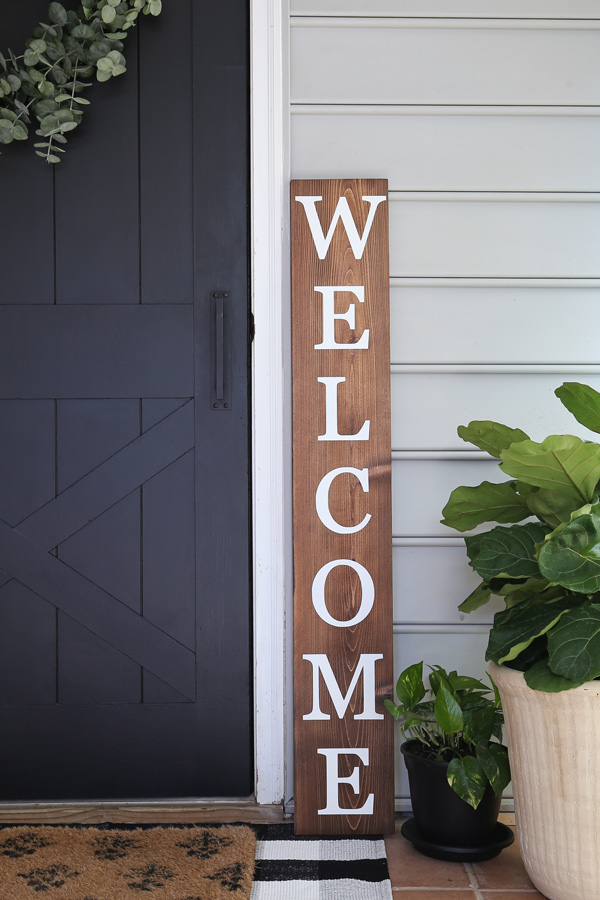
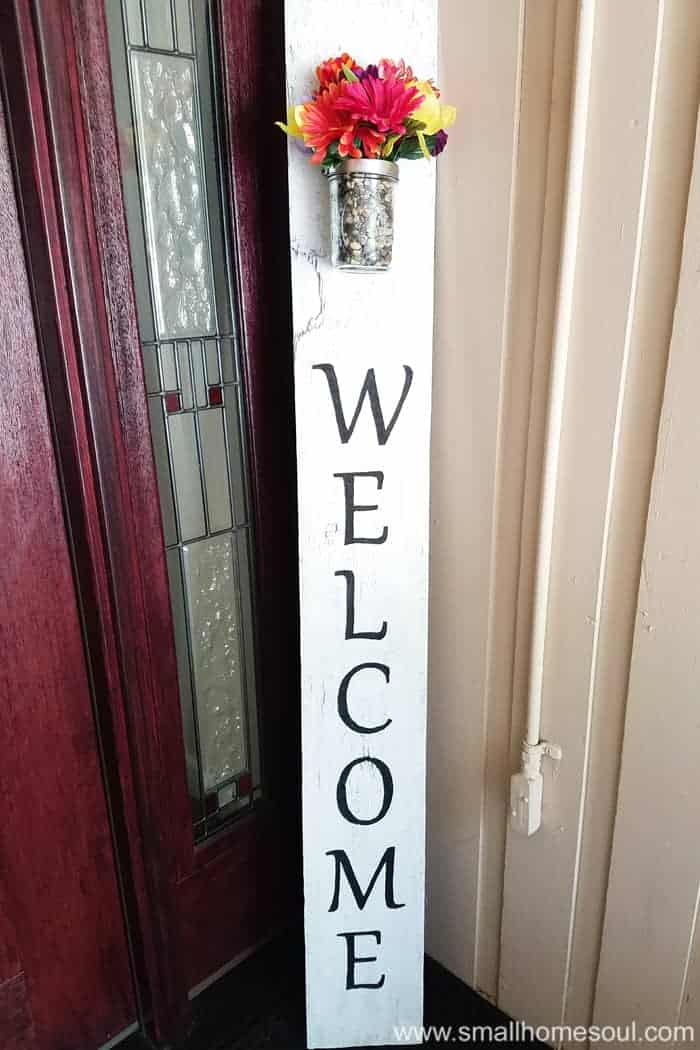
DIY Huge Front Porch Welcome Sign: Give a warm welcome to your guests and fall season with this huge front porch welcome sign that is as simple as ABC to make at home! Grab the big vertical wooden board like a shelf and then finish with the painted "WELCOME" wood letters that you can glue on it in a vertical manner!

Easy DIY Sign Perfect for Seasonal Attachments Door signs diy
DIY welcome sign: I love that these signs can add lots of farmhouse charm and character to a room, and they're super simple to make. Here's my video to show the process I use: I also recently shared another technique when I made these wood slice ornaments - and I honestly don't know which one I like better! I think I'll stick with the.

Diy sign Diy projects, Painting on wood, Wood signs
DIY Welcome SIGNSupplies:LARGE WOOD PIECE - 12" X 6' X 1" - PINE BOARD(PRE-CUT AT LOWES) - $12They didn't need to cut it, I got it right off of the shelf. T.

10 Free SVG files for Cricut Vertical Porch Signs
Step 3: Resize the Vertical Welcome Sign. Now you're going to want to resize the letters to fit the size of your board. 1. Measure the board you'll be using for this DIY Welcome Sign and then create a rectangle in design space that is the same size. In my case, I made a 8.5" by 46" rectangle.

10+ Diy Home Sign
DIY Welcome Sign. This DIY welcome sign is an excellent addition to your home. You can paint it, add ribbon, or design it any way you want. By following the step-by-step tutorial, anyone can make their custom sign. In just 10 minutes and with a few supplies, you can also make this adorable sign!

35 Beautiful DIY Signs for Your Front Porch (2022)
1. Cut wood to size for DIY welcome sign. Use a miter saw and cut your 1×8 to the following size (or have your local home improvement store make the cuts for you): (1) 1×8 @ 4 ft. 2. Stain wood sign frame. Before staining, make sure your wood is sanded really well, it helps not just with the staining process but with the design transfer.
15 Amazing DIY Signs for Your Front Porch Style Motivation
Step 3: Transfer letters to the board. Layout your letters with the spacing that works for your welcome sign. Trim the letters down a bit so they're easy to work with. Leave a good margin above and below to adjust the spacing. Once you have the spacing perfect use Painters Tape and connect the letters together.

BeginnerWoodworkingHowToUse Wooden signs, Cool wood projects
Laser Cut Wood Words. As I mentioned above, you can find some great selections of wood laser words from Hobby Lobby. Words I was able to find were Family, Hello, Welcome, Friends, Blessed, and so much more. Even if you don't find a word you want to use, you could create one in vinyl and apply it to the bottom of your sign.
Easy DIY Sign You Can Make This! Girl, Just DIY!
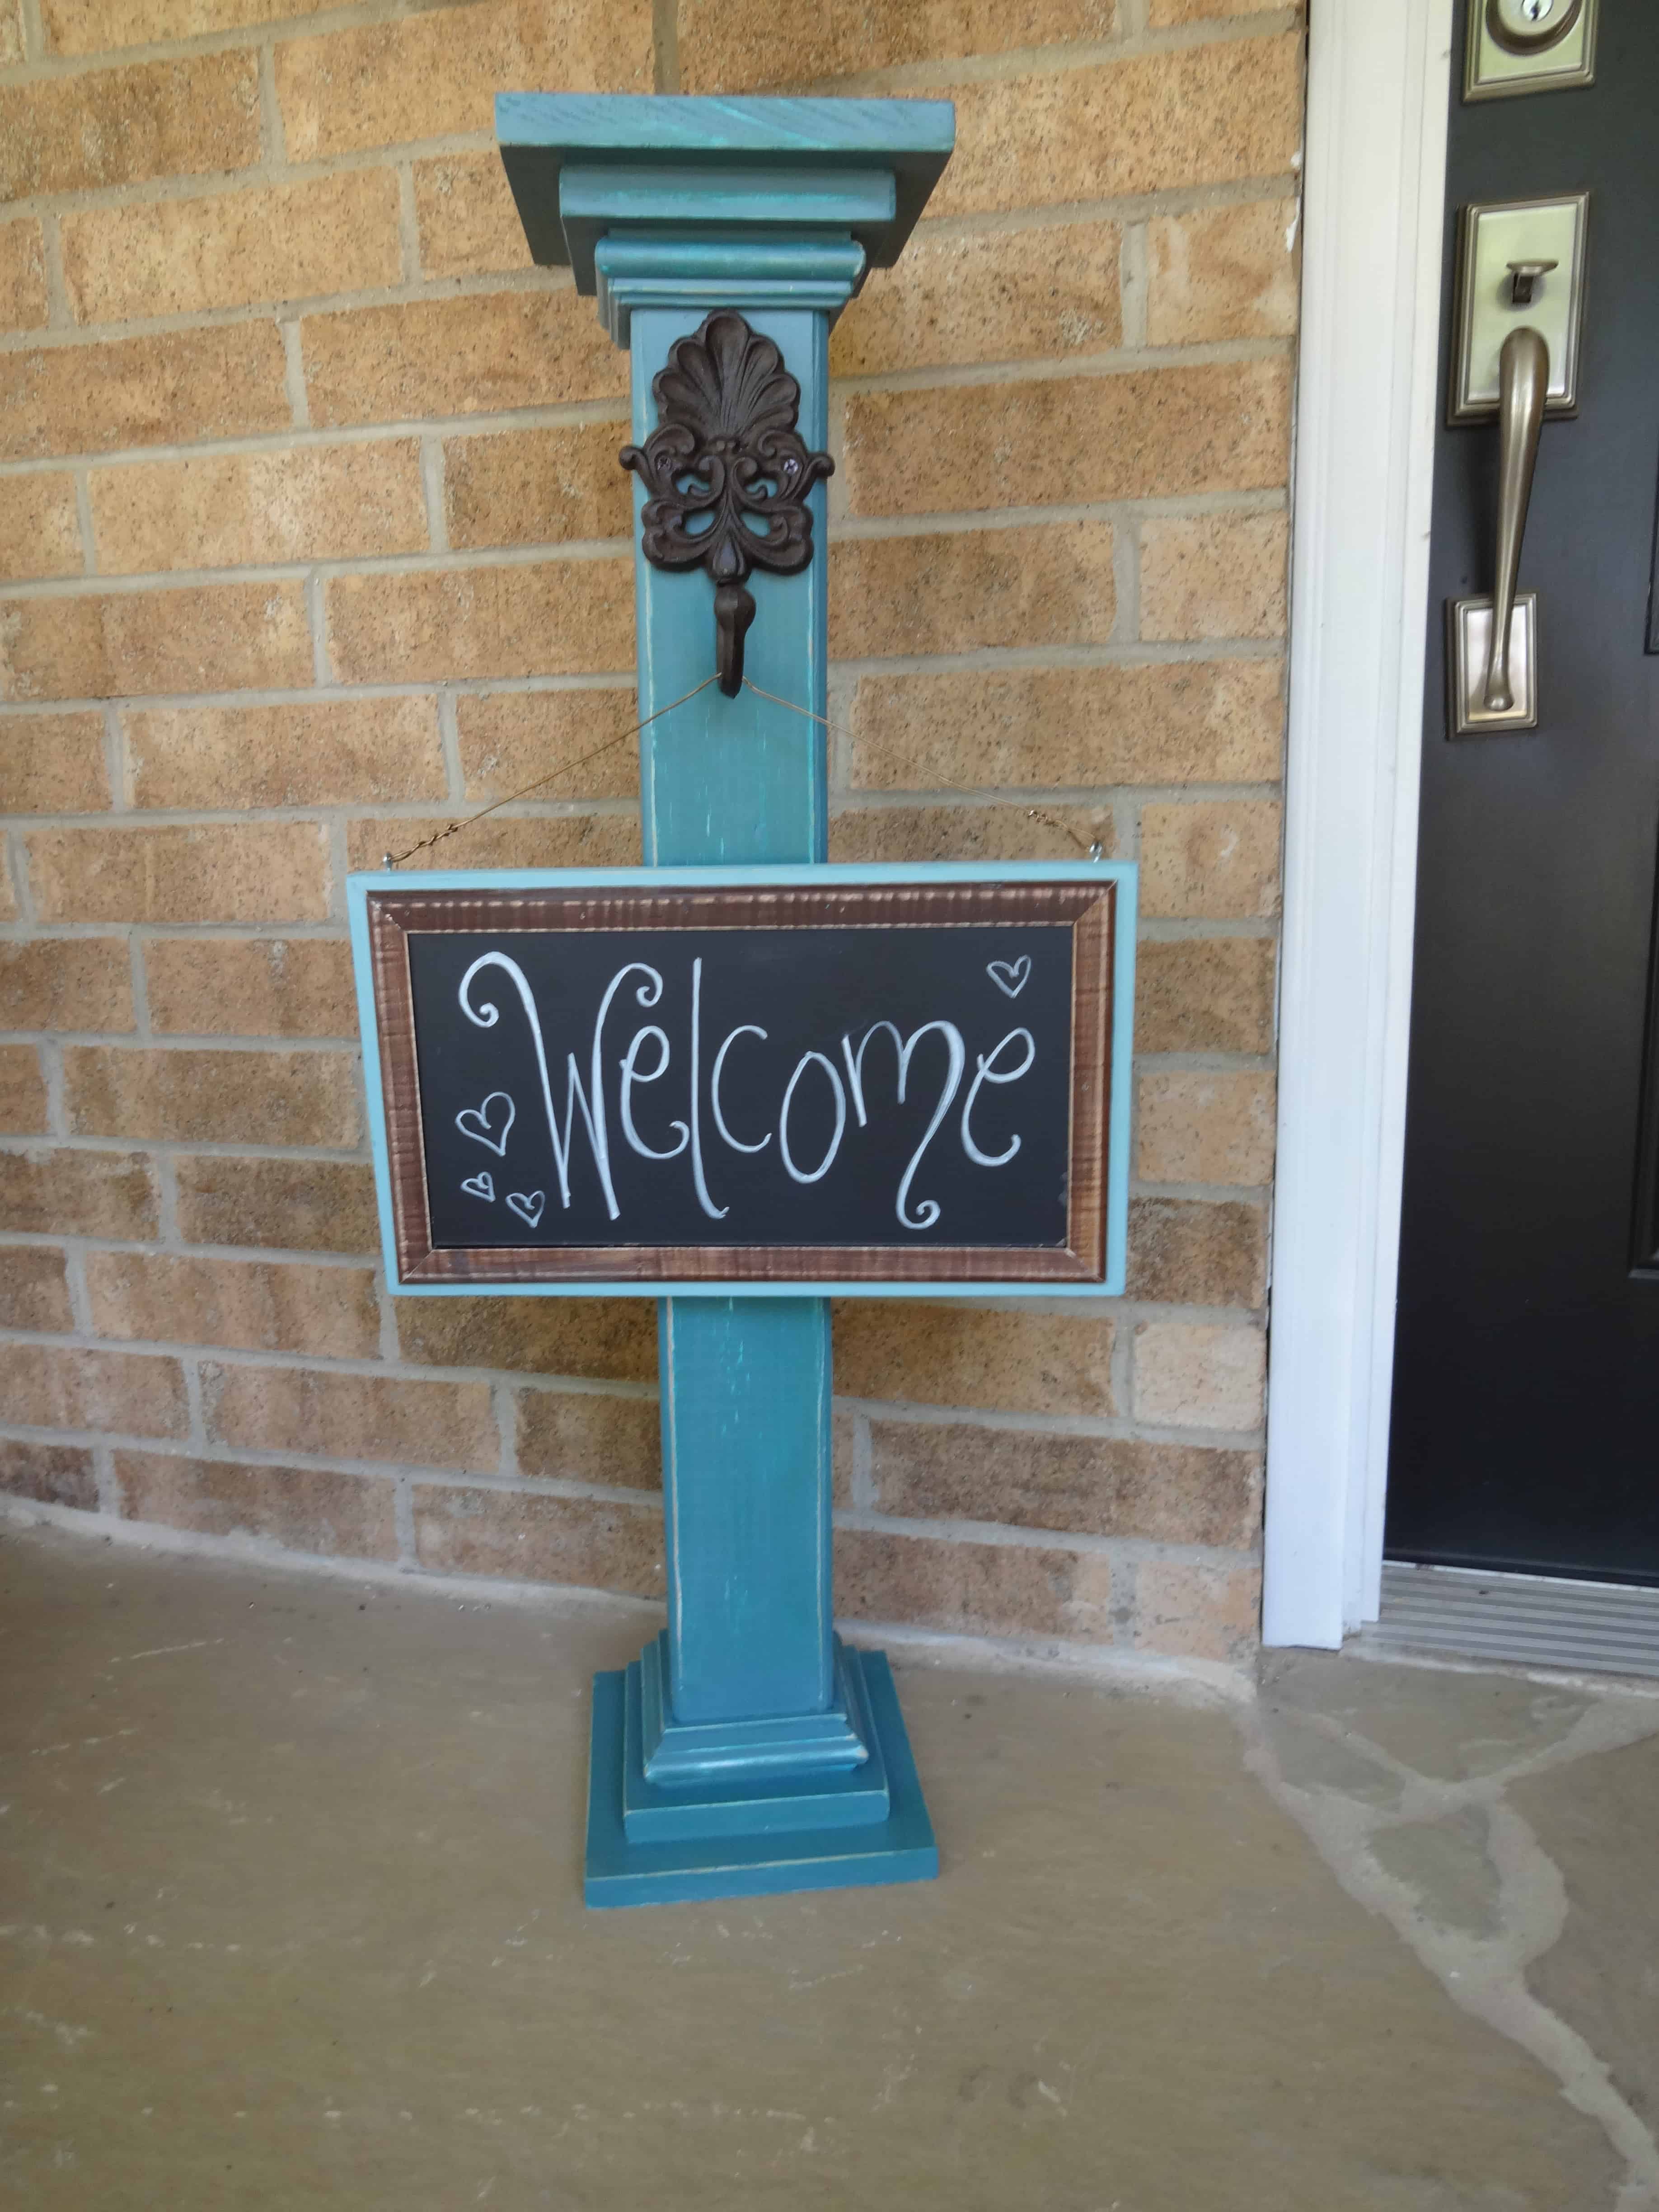
This chalkboard signpost welcome sign is adorable, adjustable, and simple to make. You'll need some specific supplies to make it, but it's easy. Grab a post hook, glass knob, chalkboard paint, wood post skirt, and some tools - including a brad nailer, which you may need to rent from Home Depot - and voila.